
The formula to perfect makeup: how to build a long-lasting, clean, affordable makeup routine

I am a firm believer that every great makeup routine starts well before any pigment touches your face. As someone with chronically dry and acne-prone skin, proper skin preparation has always been my greatest challenge. For me, the stale, Michigan winters are especially unforgiving, stripping away what little moisture my skin retains, while the combination of acne treatments only exacerbates this dryness and irritation. For this reason, maintaining a carefully chosen, deeply moisturizing skincare lineup has become an essential foundation for both the health and appearance of my skin.
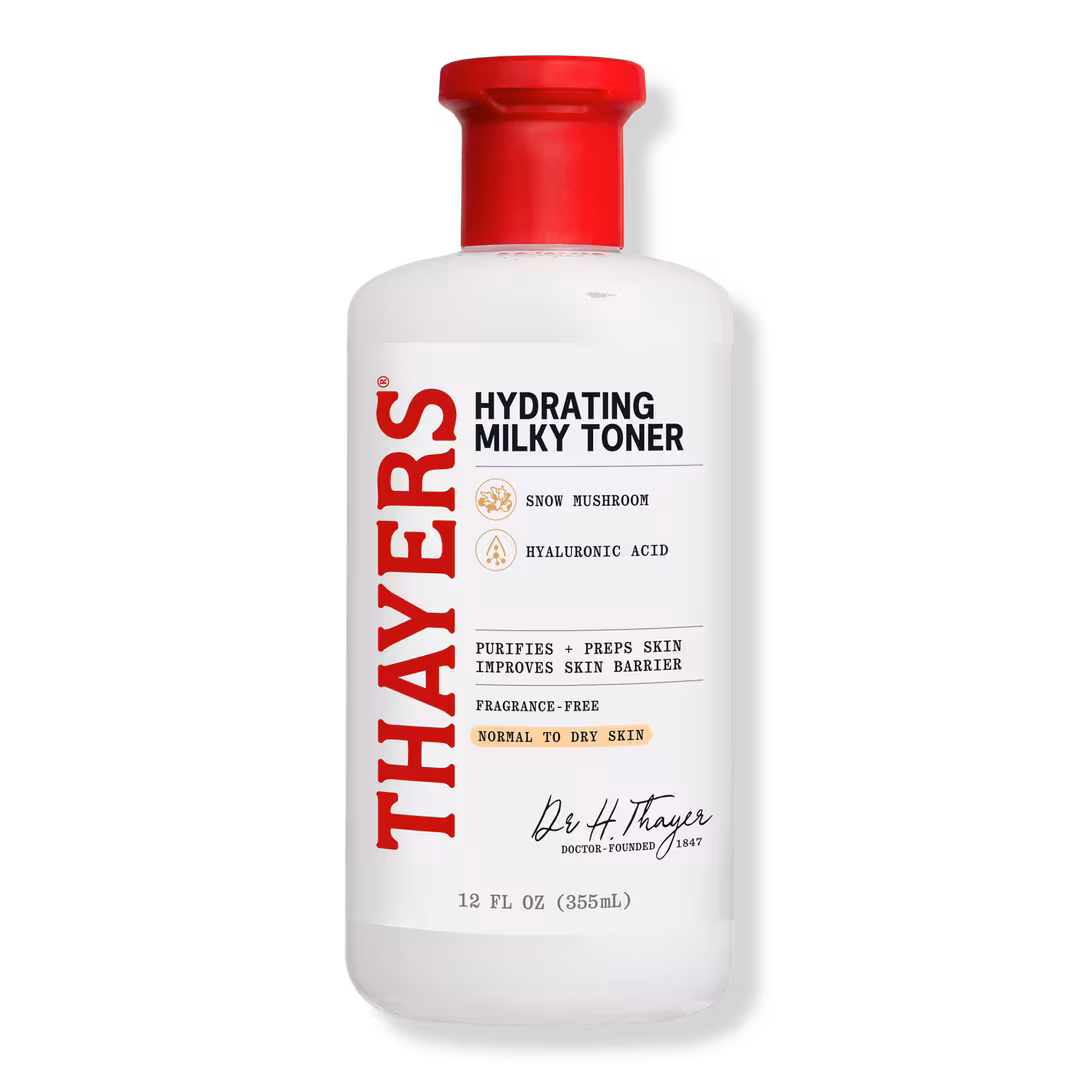
After applying my prescribed actives, I go in with the Thayers Milky Hydrating Face Toner—a gentle, affordable alternative to the Rhode Milky Toner that my skin responds to far better. In addition to restoring my hydration, this toner leaves a subtle tackiness on the skin, creating an ideal base for subsequent layers of moisturiser and makeup. As someone who is often wary of priming products due to their potential to clog pores, I find this to be a great option for anyone who wants both sustainable and acne-safe results. Next, I apply a few drops of The Ordinary Hyaluronic Acid Serum and a thin layer of the Vanicream Daily Facial Moisturizer with Hylauronic Acid, both containing a humectant that attracts and retains water, allowing my skin to remain hydrated throughout the day and providing a staple base for the rest of my routine.
Most of my dryness tends to accumulate around my jawline, cheeks, and areas affected by my acne, so on days when my skin feels particularly flaky, I reach for a considerable layer of the La Roche Posay Cicaplast Balm B5. While a bit pricier, it has proven highly effective at soothing eczema-prone areas and accelerating the healing of irritated or compromised skin, especially when left on overnight.
I cannot overstate how important it is to use the right tools. An often overlooked but essential aspect of my makeup routine, a simple pack of standard brushes is crucial for achieving a cohesive makeup look, especially if your skin is textured. I was able to snag an eight-piece Vince Camuto brush set from Marshall’s, but Eco Tools, e.l.f., and Real Techniques all have similar products for about half the price.
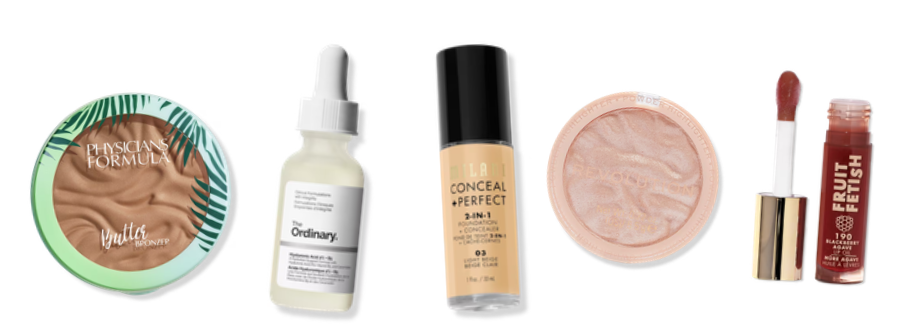
I usually begin with shaping my eyebrows with the Got 2b Glued Brow and Edge Gel, a drugstore gem with a dual-ended applicator that tames even my most stubborn stray hairs. I then use a soft, malleable foundation brush—mine is not tapered and is instead quite full and round in diameter, but some may find a firmer, angled brush more precise—to apply a base layer of the Milani Conceal and Perfect 2-in-1 Foundation and Concealer. I always begin by dispensing a small amount of this product onto the back of my hand to ensure a thin, even layer. This technique not only prevents the foundation from appearing cakey but also allows for greater precision in placement and blending.
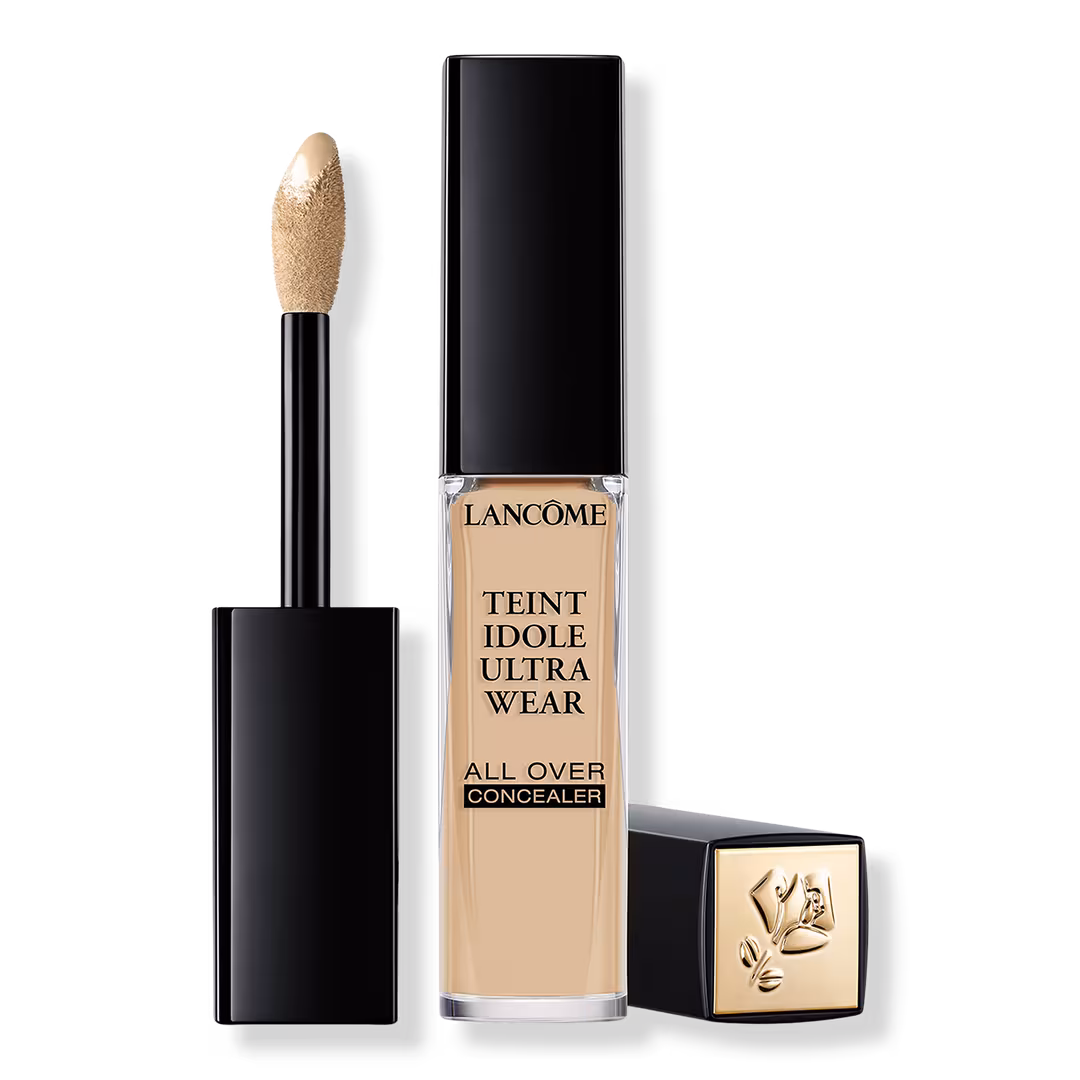
Next—one of my only true splurge items—I apply the Lancôme Teint Idole Ultra Wear All Over Concealer beneath my eyes and around the corners of my nose. A creamy, lightweight formula that glides seamlessly over my dry skin, I blend it upward using the pads of my fingers in a subtle right-triangle motion. Although I hate to bring mathematics into makeup, imagine the inner corner of your eye, near the bridge of your nose, as the ninety-degree angle, then blending this concealer from each “vertex,” from the outer area of your undereye to the area of your cheeks directly next to the tip of your nose. In terms of shade matching, I purchased this concealer in a shade a bit lighter and with brighter undertones than the Milani Conceal and Perfect. This technique brightens the center of the face while lifting the eye area for a more refreshed appearance.
Once my base layer is complete, I move on to adding warmth and dimension back into my complexion. I start with the Physicians Formula Butter Bronzer in the shade Bronzer, a match perfect for my cool-to-neutral leaning undertones that gives me a much-needed sunkissed appearance. Using a tapered, firmer contour brush to apply, this bronzer blends like perfection and is extremely beginner-friendly.
As someone with a soft-oval, somewhat heart-shaped face, placement is everything when it comes to bronzer and blush. Because my forehead is relatively wide and my cheekbones sit high and broad, I concentrate my bronzer along the upper portion of my cheekbones, blending vertically rather than inward to avoid closing off the face. I steer clear of placing product directly on the apples of my cheeks or creating harsh contour lines in the hollows, as these can overly define and flatten softer features. Instead, I diffuse the bronzer upward toward my temples and along the outer edges of my hairline, keeping the emphasis on the “high points” to maintain a natural, lifted effect.
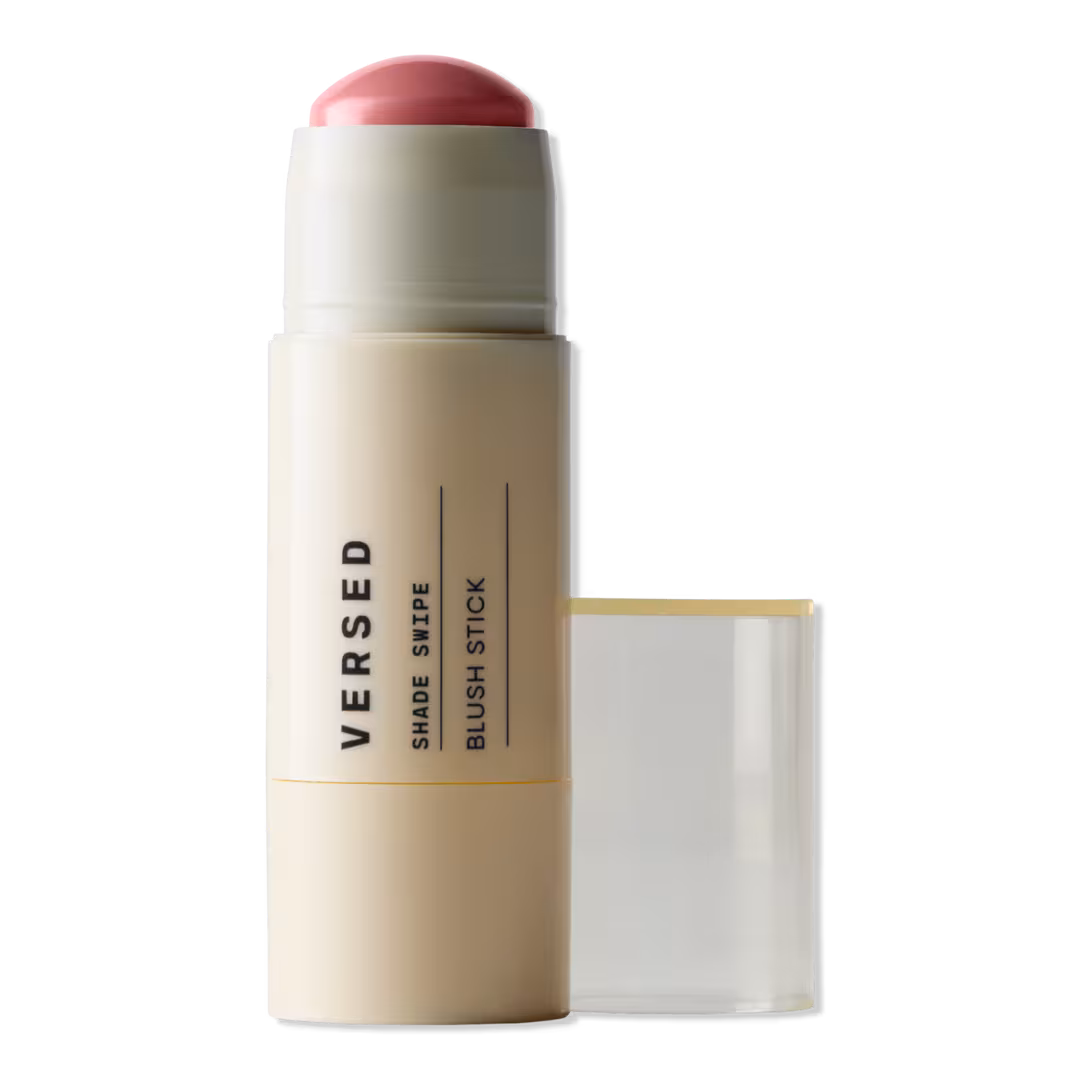
For blush, I use a soft, rounded brush to apply the Versed Shade Swipe Blush Stick, a fantastic dupe for the cult-classic Rhode Blush Stick. Placing this product first upon the brush and then blending onto my skin from there, I layer this blush along a similar path as the bronzer but slightly higher on the cheekbones and temples, an overlapping gradient that helps create dimension without heaviness. The blush remains concentrated above the bronzer, extending to the outer corner of the eye and blending outward for a subtle lift. I typically blend a small amount toward the apples of my cheeks for balance, but I keep the color soft and diffused to maintain cohesion and avoid unnecessary elongation. I will usually add a bit of pigment on my forehead around where I applied my bronzer simply for color cohesion, but this is a very light application and should serve only as a neutralizer for the bronzed tones.
I then apply both my bronzer and my blush on the outer corner of my brow bone to help with this diffusion as well. I also contour my nose with this bronzer by placing two curved, vertical stripes on the sides of my nose before looping underneath, then applying a light dusting of blush to the tip and bridge of my nose.
Once my blush and bronzer are blended to my liking, I turn my attention to setting and enhancing my makeup without dulling the dimension I just created. Using a small powder puff, I tap off any excess product and then gently press a sheer veil of Maybelline Fit Me Loose Powder along the same path as my Lancôme concealer, carefully following the same triangular shape to keep the center of my face bright and smooth. I finish by blotting a light layer onto the center of my forehead, targeting only the areas that tend to crease or become overly shiny, so the rest of my skin can retain its natural glow. Using a “reverse contour” method, I then swipe a thicker layer of this setting powder on the sides of my nose—just outside of where I blended my bronzer—in order to maintain a snatched look without harsh lines.
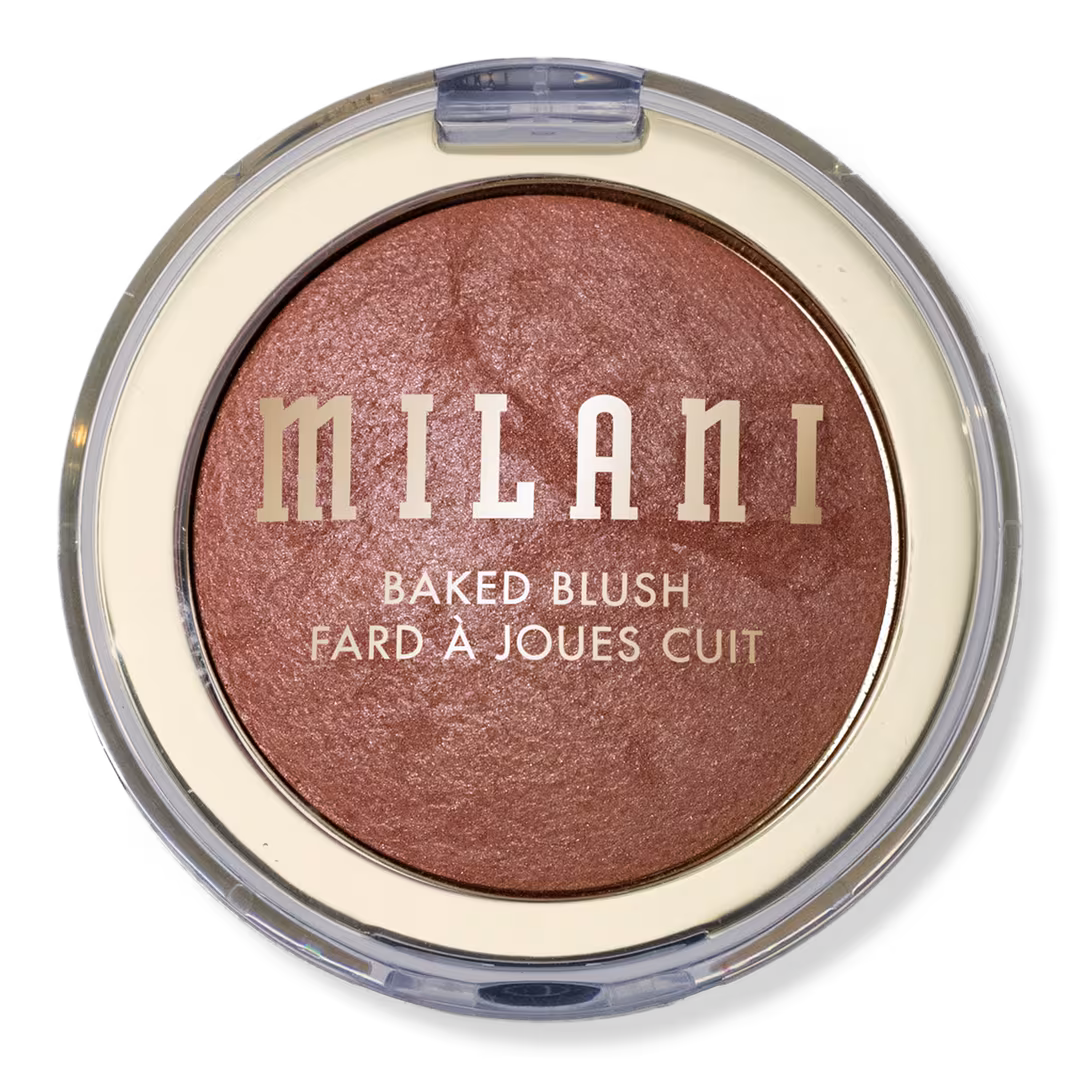
To restore any radiance near the eyes that may have been lost during this process, I sweep a soft layer of the Milani Baked Blush over the tops of my cheekbones and slightly towards my temples as a “topper blush.” On the very highest points of my face—the upper cheekbones, bridge and tip of my nose, cupid’s bow, and brow bone—I use a fine-tip brush to apply the Revolution Highlight Reloaded Highlighter, pinpointing my placement precisely to keep the look intentional and polished.
For my eyes, I like to keep things relatively simple but defined. I trace a thin line of the Colourpop Crème Gel Eyeliner along my upper lash line and waterline, focusing most of the pigment on the outer third of my eye to create a soft, lifted effect without the harshness of a traditional liquid wing. Especially as someone with light-colored eyes, I love the effect that this contrast has in making the pigment of my eyes pop, drawing subtle attention to them while keeping the overall look clean and effortless.
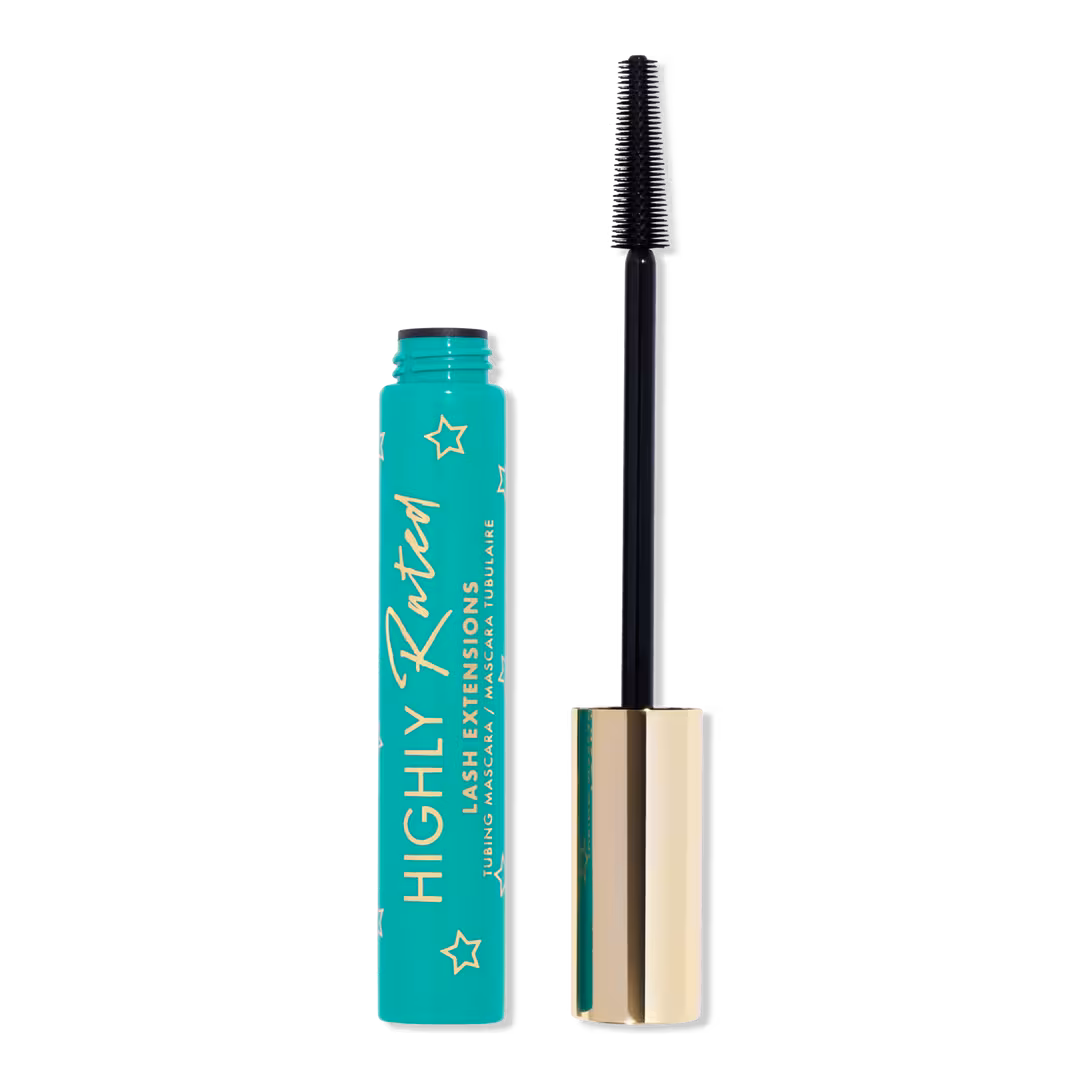
To finish my eye look, I first curl my lashes with the Japonesque Lash Curler—ideal for my big, round eyes as it lifts and opens them beautifully without any pinching. Then, I layer two complementary mascaras: starting with Milani Highly Rated Lash Extensions Tubing Mascara, which I sweep from roots to tips on both upper and lower lashes for dramatic length and a fanned-out, lash-extension vibe. If you enjoy a bit of subtle clumping for that textured, falsie-like separation, this tubing formula creates it effortlessly without flaking or fallout. Then, concentrating mainly on the base and tips of my lashes for extra volume and hold, I go in with a light coat of the L’Oréal Paris Telescopic Waterproof Mascara, ensuring my eye makeup keeps its continuity without any midday smudging or falling.

For my lip combo, I reach for the CoverGirl Outlast Vegan Lip Stain in the shade “Brazen Raisin,” a rich, brownish-red tone that blends without disappearing and, unlike other lip stains, stays on the whole day. For a plump finish, I then layer on the Milani Fruit Fetish Lip Oil on top in the shade Blackberry Agave, a similar red-undertoned lip gloss that complements not only my lip liner, but also my blush and bronzer tones.
Finally, my only other splurge in this routine is the Huda Beauty Easy Bake Setting Spray—and it’s absolutely worth every cent. Unlike some setting mists that evaporate without making much of a long-lasting impact, this one uses a heat-activated formula that melts everything together, locking my base, blush, and liner in place through long school days, while out for a run, and during mid-day naps.
sophia mix • Feb 23, 2026 at 10:22 am
can confirm, the revolution highlighter is absolutely AMAZING, and super cheap!! love a good longform lifestyle, kathryn, this is great!!